Fetching data from external Graphql API service in Phoenix LiveView

A
I am a Software Engineer from Mumbai, India. In love with Functional programming ( precisely Elixir). Love to share the knowledge that I learn while developing things.
Search for a command to run...
No comments yet. Be the first to comment.
Motivation Recently, I tried to learn some low-level system programming stuff. I am a Mac user, and I thought that everything that works on Linux should also work on Mac. After all, Mac is a Unix-based system 😊. I guess we all heard this. Oh boy! I ...

Problem Statement While working on a Nestjs project, I encountered a weird problem related to the database column. I was trying to insert a record into a MySQL table using TypeORM. The error I was experiencing stated that a specific column “cannot be...

Recently, I was exploring design patterns courses on my LinkedIn Learning subscription. I came across a course, Node.js: Design Patterns by Alex Banks. It is a wonderful, easy-to-understand course. I started with the Builder Pattern, and the explanat...

Suppose you are working on a table in a LiveView project. This table has limited static data of not more than one page (you can avoid questions about pagination in the comment section 😊). From a user's point of view, it becomes hard to look into the...

Recently, while working on one of my personal Elixir projects. I came across a scenario where I needed to make some changes to the database schema.The changes mainly revolve around adding and removing indexes due to changes in the business requiremen...

Recently while creating my personal portfolio website abulasar.dev, I added a blog page. For that, I had fetched hashnode blogs on the page. Hashnode has exposed its blog through API. You can visit api.hashnode.com and this API is in Graphql format. Previously, I had fetched these blogs in an Ember.js app and wrote a blog on this topic. I had no previous experience using graphql client in the elixir projects. I implemented it in this project and this blog will be about using graphql query in the Phoenix LiveView project. Let's build one!!
elixir -v.mix phx.new fetch_hashnode --no-ecto --live and this will generate one.cd fetch_hashnode and run mix phx.server. Once, the project starts running navigate to localhost:4000 to see the Welcome phoenix screen.Neuron.Neuron by first adding it to the list of dependencies.mix.exs file and add Neuron to the list of dependencies. def deps do
[
........,
{:neuron, "~> 5.0.0"}
]
end
mix deps.get to install the dependency.Neuron.url in the Neuron configuration.iex shell by running the following query.iex> Neuron.Config.set(url: "https://api.hashnode.com/")
Neuron.query("""
{
  user(username: "your_username") {
      publication {
          posts(page: 0) {
              title
              brief
              slug
              cuid
              coverImage
          }
      }
  }
}
""")
Neuron response with a list of blogs on page number 0, along with the nitty-gritty details of header responses, something like below.{:ok,
%Neuron.Response{
body: %{
"data" => %{
"user" => %{
"publication" => %{
"posts" => [
%{ } // blog 1,
%{ } // blog 2
]
}
]
}
}
}
},
headers: [
{"Connection", "keep-alive"},
{"Content-Length", "3186"},
......
],
status_code: 200
}
}
blog_posts under lib/fetch_hashnode. In that, we'll add the blog.ex file.Add the following code to it.
defmodule  FetchHashnode.Blog do
  @username "your_hashnode_username"

  def get_blogs(page \\0) do
    Neuron.query("""
      {
        user(username: "#{@username}") {
          publication {
              posts(page: #{page}) {
                  title
                  brief
                  slug
                  cuid
                  coverImage
              }
          }
        }
      }
    """)
  end

  def get_detail_blog(slug) do
    Neuron.query("""
      {
          post(slug: "#{slug}", hostname: "#{@username}") {
          title,
          slug,
          cuid,
          coverImage,
          content,
          contentMarkdown,
          tags {
          name
          }
       }
     }
    """)
 end
end
iex shell by running iex -S mix phx.server and do some testing of these functions.get_blogs function which expects to return a list of all blogs on page 0 (because the default is 0).iex> FetchHashnode.Blog.get_blogs
" you need to supply an url". So, what went wrong? 🤔url with the Neuron in the shell earlier by doing something like this.Neuron.Config.set(url: "https://api.hashnode.com/")
Neuron should be aware of this url as soon as the server starts. So, we will add the above snippet in application.ex in the start function.def start(_type, _args) do
children = [
FetchHashnode.Repo,
....
]
opts = [strategy: :one_for_one, name: FetchHashnode.Supervisor]
Neuron.Config.set(url: "https://api.hashnode.com/") # This is the line
...
end
iex -S mix phx.server and again query the function FetchHashnode.Blog.get_blogs and voila!! it's working now.get_detail_blog we need to pass the slug of the blog. So, we will test the function with some slug like this FetchHashnode.Blog.get_detail_blog('writing-mix-task-in-elixir-phoenix')
LiveView page to display these fetched blogs.blogs endpoint in router.ex by adding the following code scope "/", FetchHashnodeWeb do
pipe_through :browser
live "/blogs", BlogsLive
end
Now add a file lib/fetch_hashnode_web/live/blogs_live.ex and add the following mount callback in the code.
defmodule FetchHashnodeWeb.BlogsLive do
 use FetchHashnodeWeb, :live_view
 alias FetchHashnode.Blog

 def mount(_params, _session, socket) do
   {:ok, blogs} = Blog.get_blogs()
   blogs = get_in(blogs.body, ["data", "user", "publication", "posts"])
   socket = assign(socket, blogs: blogs )
   {:ok, socket}
 end
end
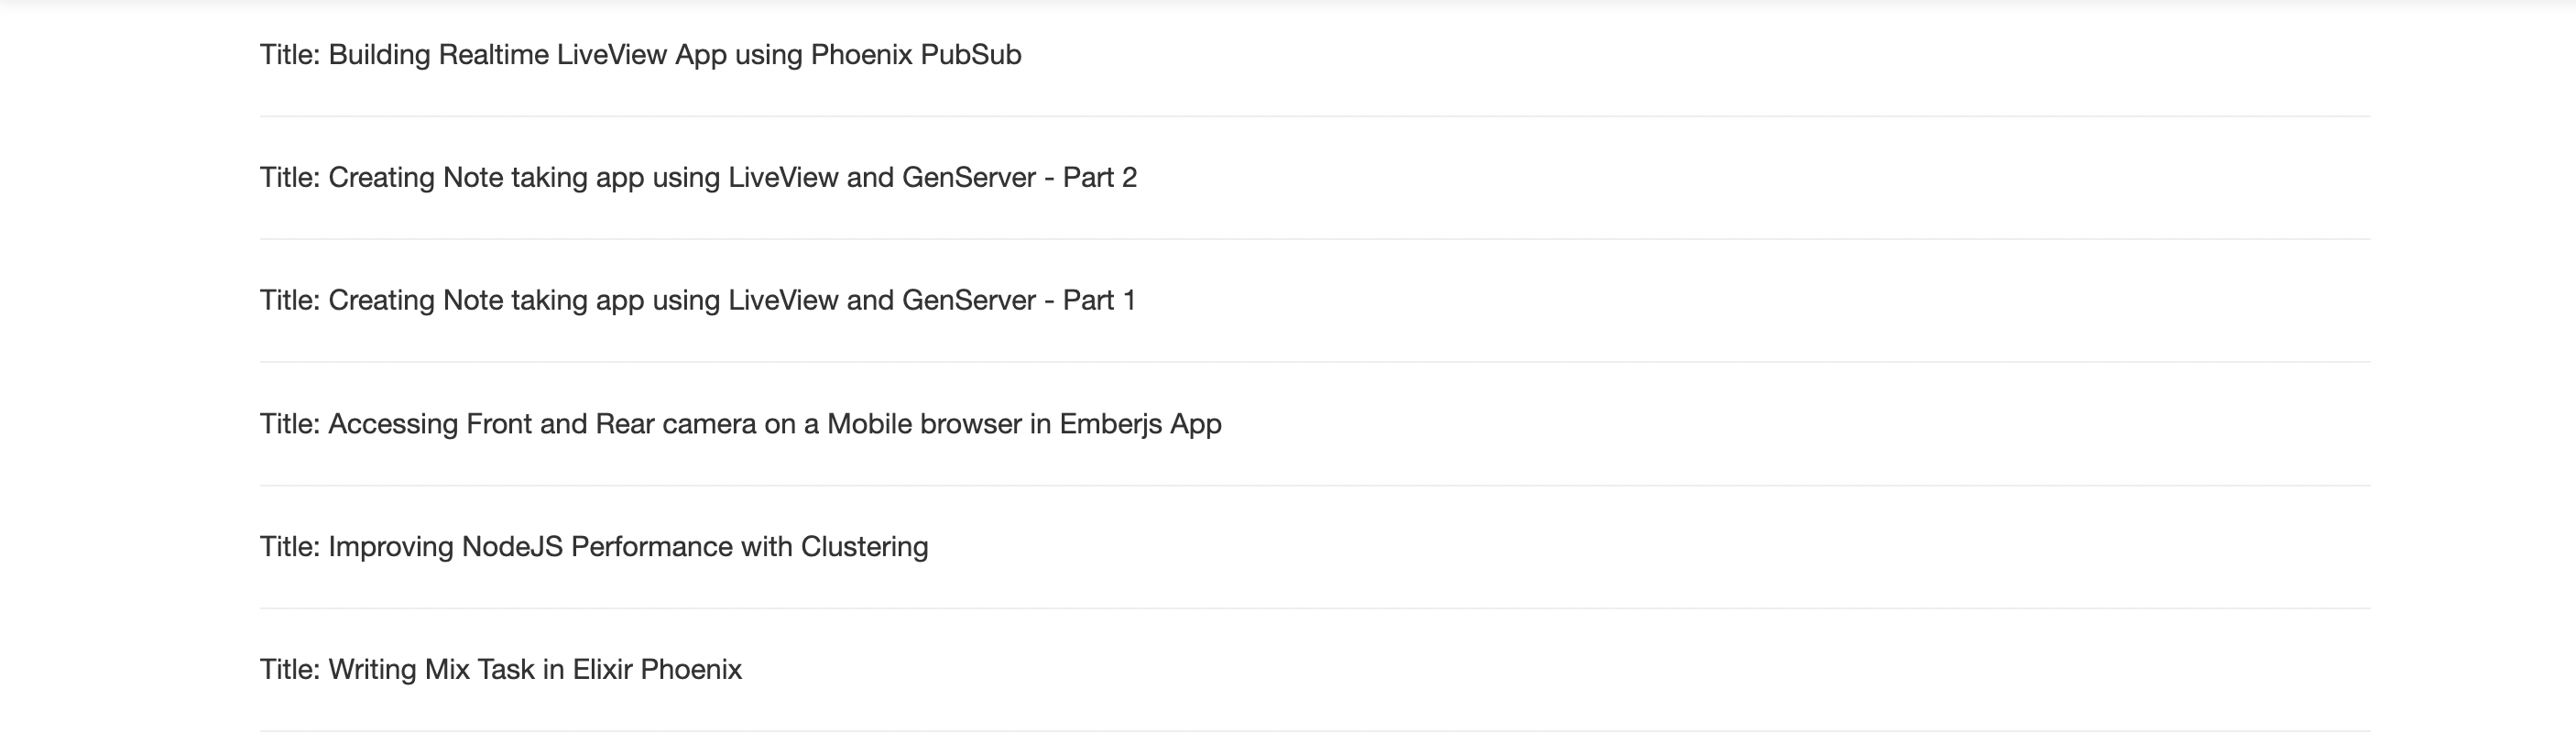
Blog module and queried the get_blogs function in the mount function. blogs variable using pattern matching.socket this will make it available in the view in the render callback.blogs variable in the view to display something like this.def render(assigns) do
~L"""
<%= for blog <- @blogs do %>
Title: <%= blog["title"] %>
<hr>
<% end %>
"""
end
LiveView page. I'll leave this logic up to you 😊.I hope you like this blog. Of course, there is some scope of refactoring that I intentionally didn't touch. If you have any questions then please comment below. Thanks for reading 😊.