Adding Toaster message in Phoenix LiveView
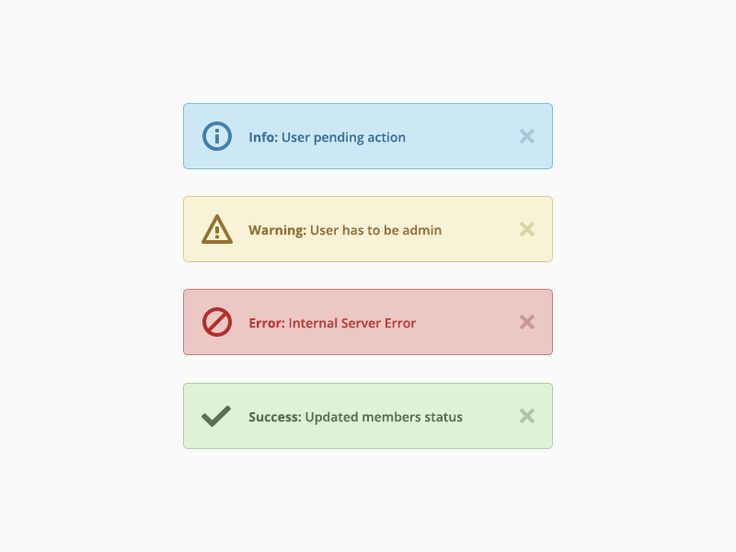
This blog is about adding a Toaster message in the Phoenix LiveView application. We are going to implement this with a combination of Elixir and Javascript. Before, starting to build a toaster let's first answer the most obvious question "What is a Toast?"
What is a Toast?
Toasts are non-interactive, passive, and asynchronous short messages for users. Generally, they are used as an interface feedback pattern for informing the user about the results of an action. This is the most bookish answer about what is a Toast. In the easiest form, it is a popup that provides simple feedback about an operation.
How our toaster should work?
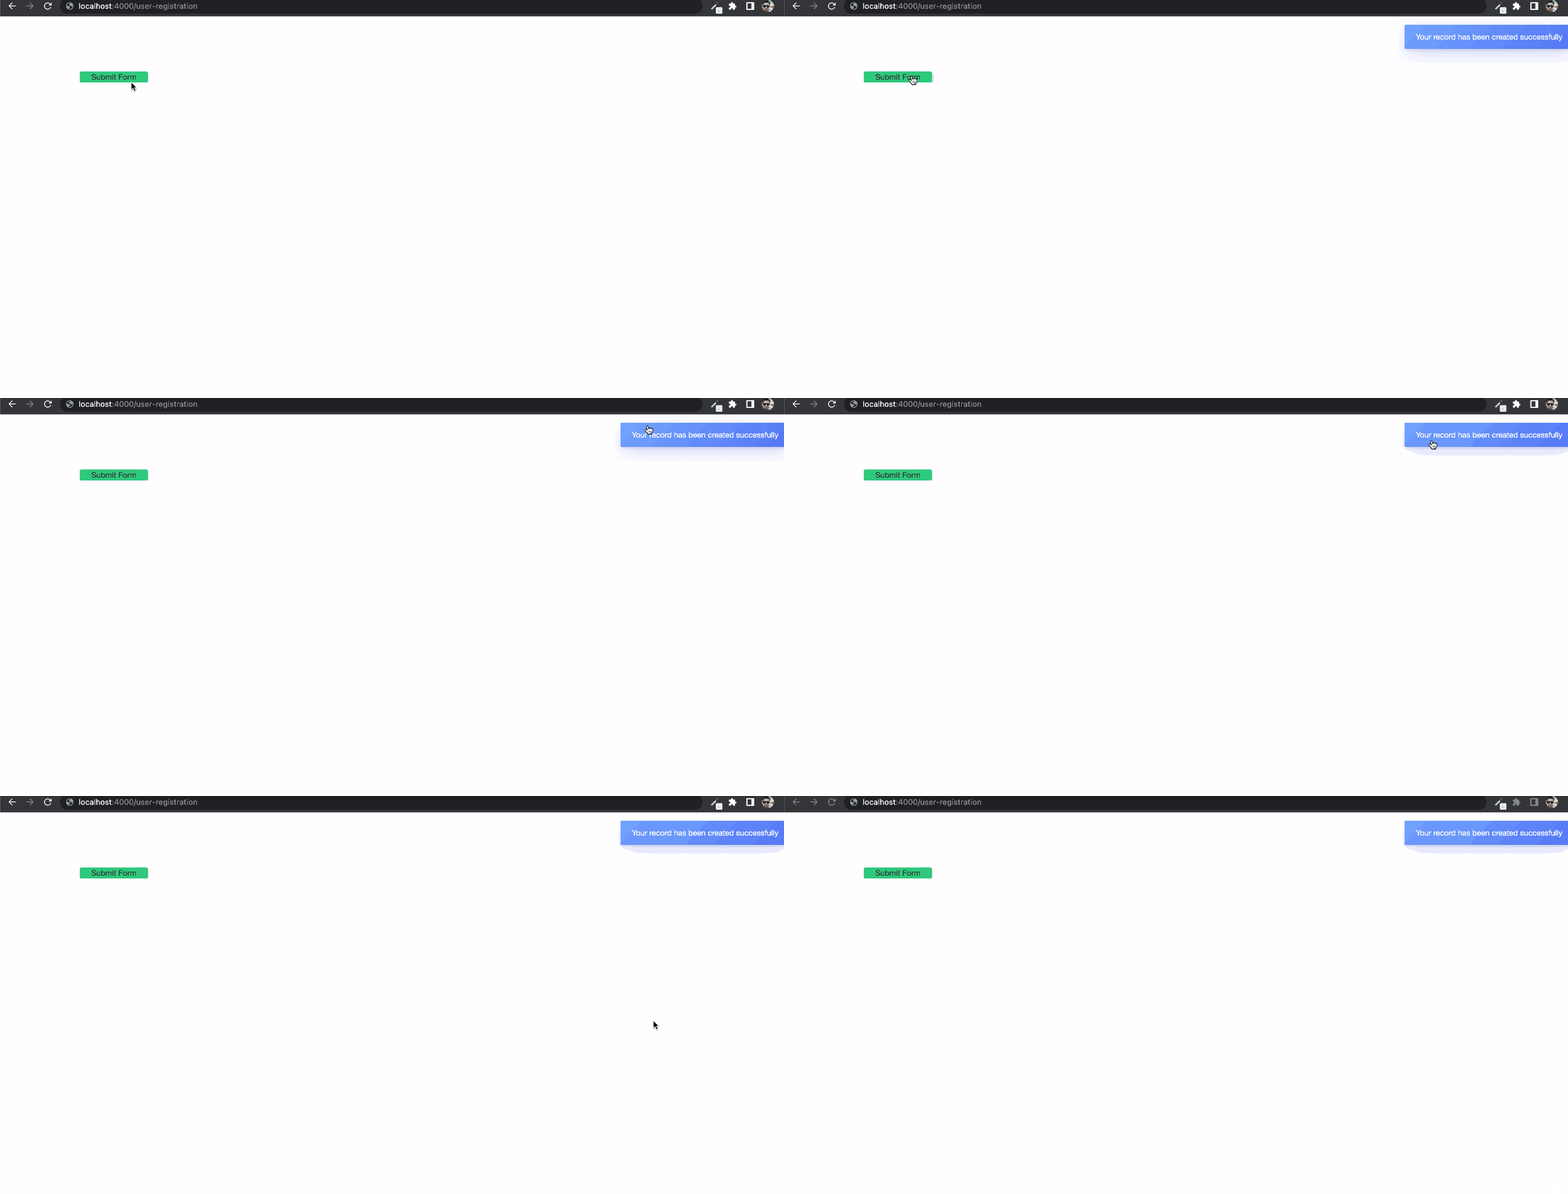
As per definition, a toaster is a popup that provides feedback about an operation. For example, if the user tries to submit a form by clicking the submit button. The user should get feedback after the submission as "Your account is created successfully".
In our LiveView application, we want this event(toaster display) should happen after some operation. We are going to call our toaster display logic through pushEvent after that operation. So, our toaster generation logic will be as follows
- After any operation in Elixir code we will trigger the
push_event - The
push_eventwill be handled by thehandleEventhandler in the javascript Hook - This
pushEventhandler will ultimately trigger thetoasterpopup.
Now, that we are ready with our roadmap let's start building 👷
Finding javascript Toaster library
I wanted a vanilla javascript library that should be lightweight and highly supportive in the js community. While doing some research I came across toastify-js. Let's install it in the application. Navigate to the assets directory by running cd assets then run
npm install toastify-js
Adding the toaster styling
- We need to import
toastifystyles in ourapp.cssby adding the following line@import "../node_modules/toastify-js/src/toastify.css"; - Next, we will add a javascript hook.
Adding Javascript Hook
After installing toastify we will then add the javascript logic. We will add a mounted callback, which is called and initialized with some initial value as soon as the element on which we are applying it is mounted in the DOM.
As we have discussed that our toaster should be called after our elixir code will trigger handle_event. So, we will add our event handler in our mounted callback.
- Let's add a file in
message_toaster.jsinassets/jsfolder. - Add a mounted callback with an
handleEventnamedtoast.
import Toastify from 'toastify-js'

MessageToaster = {
  mounted() {
    this.handleEvent('toast', (payload) => {
      Toastify({
        text: payload.message,
        duration: 3000
        }).showToast();
    })
  }
}
export default MessageToaster
- We will import
Toastifyand use it in thehandleEvent. - In the
handleEvent, we have a callback function with apayloadparam. It will have a custommessagewhich will be used in theToastify. At last but not least we will include our
MessageToasterhook in our LiveSocket. For this, we will open theapp.jsfile and importMessageToasterand include it in our Hooks object, and add the Hooks to our LiveSocket constructor as follows.import MessageToaster from "./message_toaster" let Hooks = { MessageToaster } let liveSocket = new LiveSocket("/live", Socket, {params: {_csrf_token: csrfToken}, hooks: Hooks }) # Notice `hooks: Hooks`
Registering the Hook
- To call our Javascript logic i.e hook we’ll add the
phx-hookattribute on the root page with value as the hook namei.e MessageToaster. We will add ourphx-hook="MessageToaster"on thelive.html.heexpage. Add the following code
# lib/project_name_web/templates/layout/live.html.heex
<div phx-hook="MessageToaster">
     <%= @content %>
</div>
Calling the Toaster
- As discussed we are going to call our
toasterfrom Elixir code after a certain event. For testing purposes, we are going to add abuttonin one of ourLiveView'sHTML code as follows# live/user_registration_live.html.heex <button phx-click="submit_form">Register User</button> - Then we will add
handle_eventfor thesubmit_formdef handle_event('submit_form', params, socket) do # Form submission logic end - In the
handle_eventafter our form submission logic we will makehandle_eventdef handle_event("submit_form", params, socket) do # Form submission logic .... .... .... {:noreply, push_event(socket, "toast", %{message: "Your record has been created successfully"})} end - Final working DEMO is as follows
I hope you like this blog. If you have any questions then please comment below. Thanks for reading 😊.
References
About the author
- I am a Software Engineer from Mumbai, India. In love with Functional programming ( precisely Elixir). Love to share the knowledge that I learn while developing things.
Comments
Join the discussionNo comments yet. Be the first to comment.